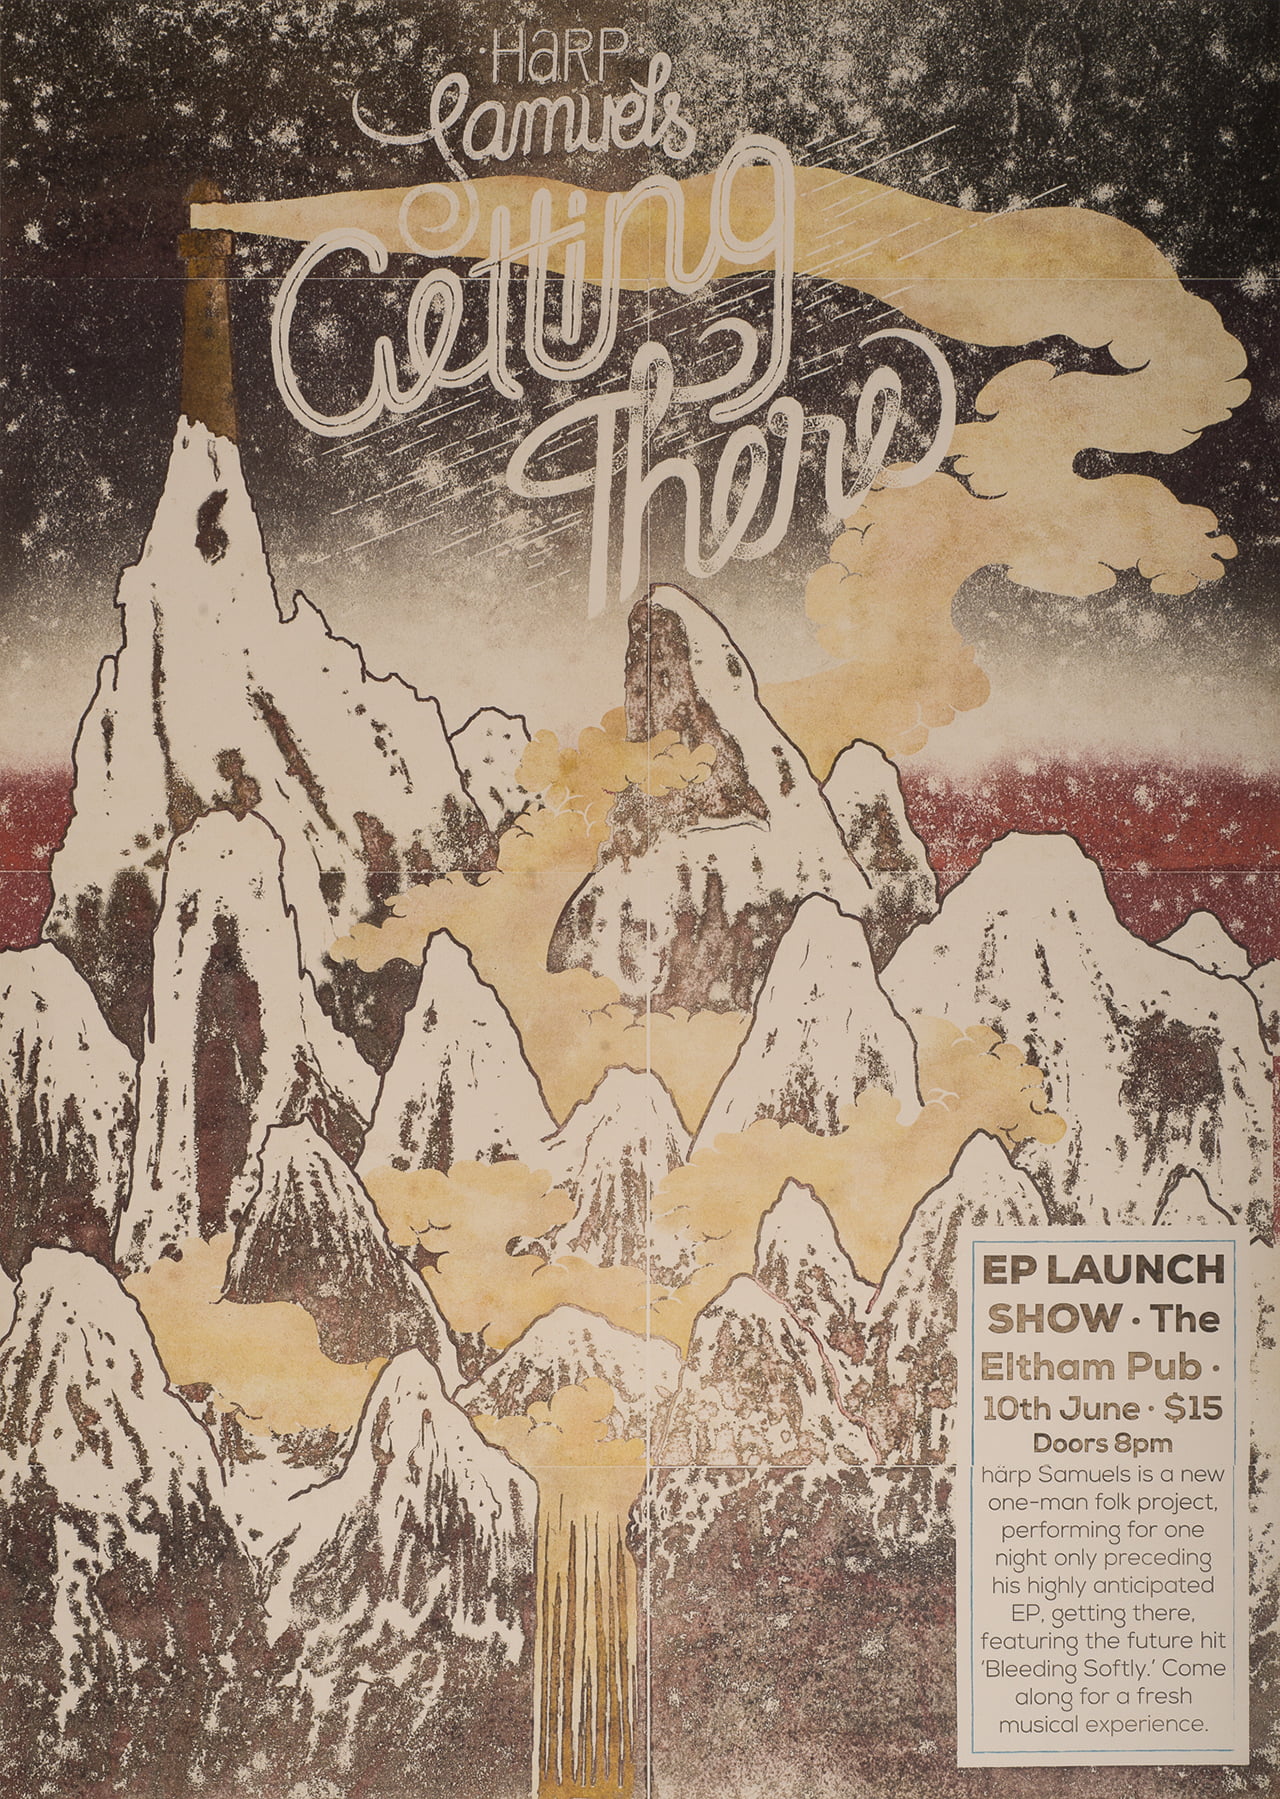
I've always liked my work Getting There, and wanted to create a version of this that more accurately reflected its Ukiyo-e inspiration. Without the tools nor skill to carve my own block of wood, I remembered a technique taught to me by my awesome High School printmaking teacher called photocopy transfer, or Xerox transfer by some. Xerox transfer is actually a more accurate name, as the process does depend heavily on the type of ink used and the resulting reaction between that and the solvent. I knew already that I was unlikely to find an A1 Laser printer without costly experimentation in HP Indigo prints, which I wasn't keen to try, meaning I had to try my best to tile a series of A3 laser printouts, mirrored, very accurately, from the wrong side of the paper. This ended up being quite the challenge and took a few goes to get right.
From my experimentation, I can tell you that this method works best for me:
Materials:
- A colour laser xerox photocopier
- A solvent. My previous favourite solvent was Art-clean, which is citrus-based and available from most art stores. After my initial tests, I found that this doesn't give as rich blacks and dark colours as Eucalyptus oil, which is available from some chemists, is less toxic, and slightly more economical.
- A print-making press, preferably a large litho press, although for smaller projects burnishing with the back of a spoon can work well.
- Printmaking rives. You want your paper to be very absorbent and chemical-free for good colour transfer and reliable results.
- blank newsprint/tissue
- cling-wrap
- food prep/rubber gloves
- ventilation
- sponge or cloth
Method
- Mirror your image horizontally in Photoshop by first flattening it and selecting Edit > Image > Flip horizontal. You may want to increase the vibrancy of your colours first, as they will lose a little in the transfer process.
- Export the mirrored image in a high quality PDF.
- Print on a colour laser Fuji/Xerox-branded photocopier, using Adobe Acrobat/Reader's print tiling setting if printing larger than A3. Other brands may work, but I know some HP and Epson laser printers do not, due to the way their ink is sealed.
- Trim excess paper off, marking exact points of overlap on the back of the paper in grey lead. Leave the outer edges of the tiled image untrimmed so you can secure these while burnishing or your overlap should be very small to prevent a doubling up of ink transfer.
- Lay some protective material such as cling-wrap on your printing press, with some newsprint over it.
- Lay your printmaking paper over the top, good side up.
- Arrange the trimmed xerox print-outs on top of your printmaking paper, image facing down, carefully aligning each edge and overlap. You can secure these with masking tape on the outer edges.
- Put on protective gloves and start ventilation. Have more newsprint and your cling wrap ready to go.
- Carefully start wiping your solvent across the back of your print-outs, using one hand to hold each-print as you move methodically and quickly across the entire print. Make sure you cover all sections. Don't be afraid to go over sections again if they are drying out or you think you may have missed a spot. Try not to go over tape with your solvent or it will turn extroardinarily sticky. Tape will not prevent movement, so you still need to be careful not to move paper while sponging.
- Your print should be revealed through the now-semi-transparent print-out paper.
- If you're burnishing with a spoon, do this now, being careful to cover all areas. If using a press, lay newsprint and then cling wrap smoothly down over your print, then put through the press at least once in either direction.
- Carefully peel back all layers, taking extra care not to bump any print-outs as you do.
- Your photocopy transfer should be there, perhaps a bit damp from solvent.
- Dry for at least a few hours. Whatever you do, do not put in a plastic pocket, sleeve or folio for at least a week. The solvents could melt these to your artwork, completely ruining it.
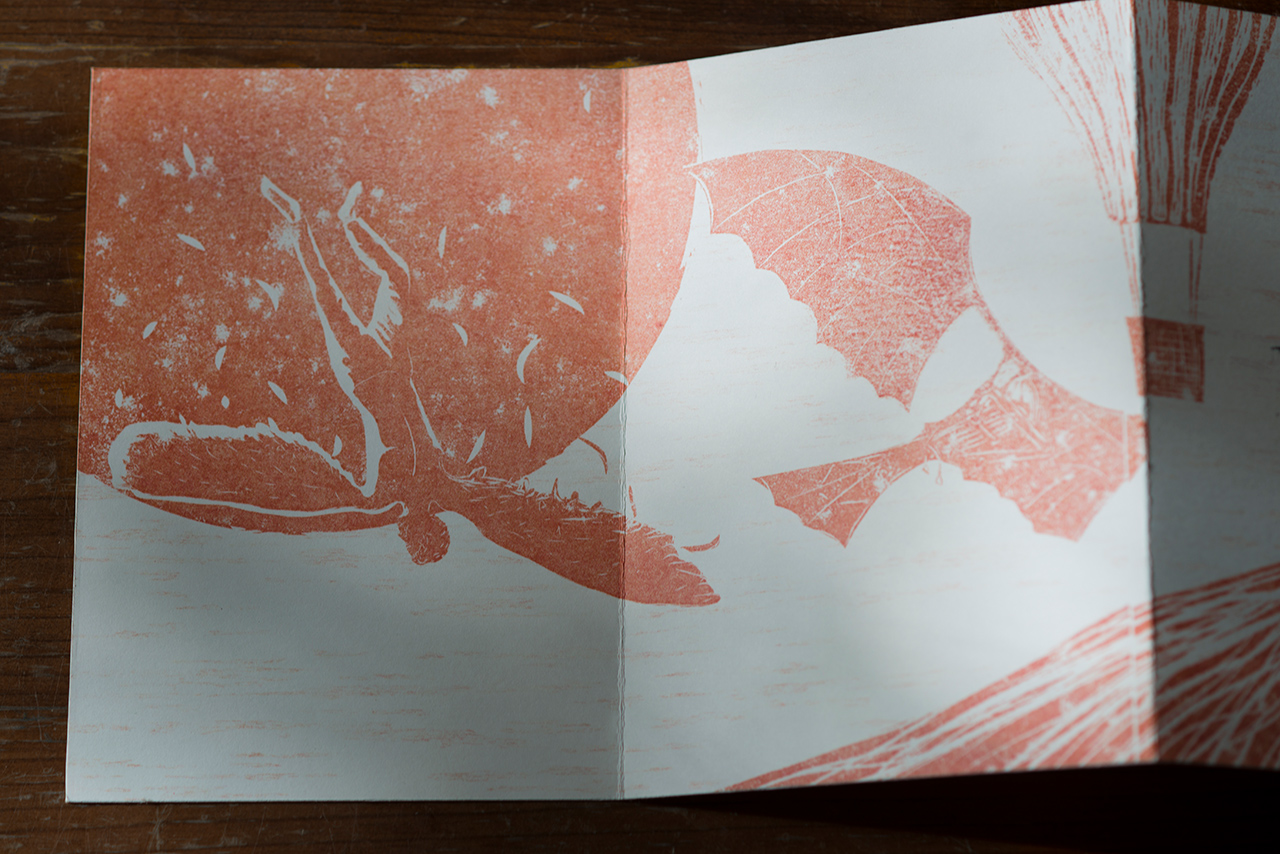
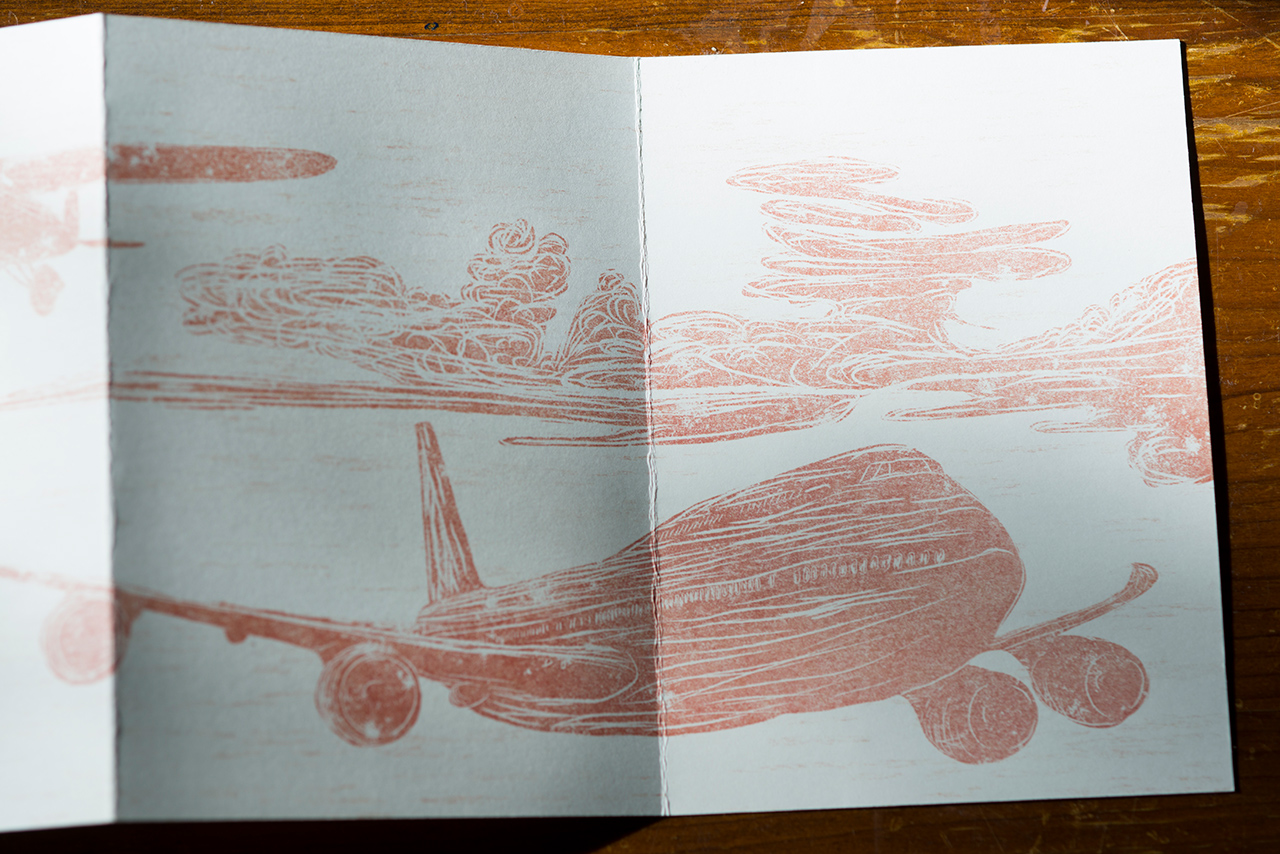
Here's how mine turned out. As you can see, alignment still isn't perfect, but at this point I had tested the patience of the lab technician enough, and could not afford the materials for another run.
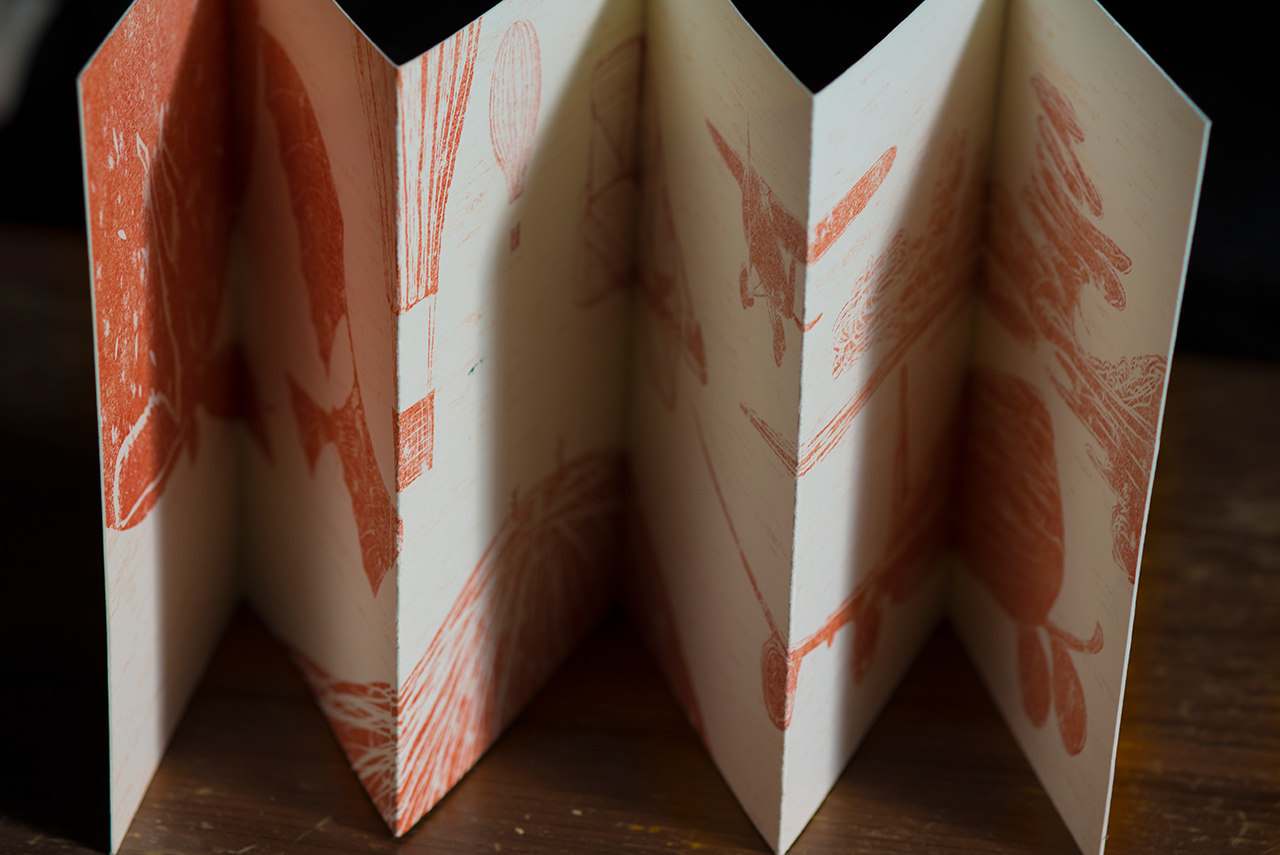
Here's another print I created with the same technique.
Have fun with this technique and feel free to share!